
Pet Safety: Foolproof Pool Tips for Dogs
July 10, 2026
Pump Troubleshooting: Solve Motor Issues Fast
July 14, 2026

- The Allure of Vinyl Liner Pools and the Inevitability of Leaks
- Spotting the Signs: Is Your Pool Leaking?
- The Marvel of the Vinyl Liner Patch
- Types of Vinyl Liner Patch Kits
- Effortless Pool Leak Repair: A Step-by-Step Guide
- When to Call the Professionals
- Proactive Maintenance for a Longer-Lasting Liner
- Conclusion
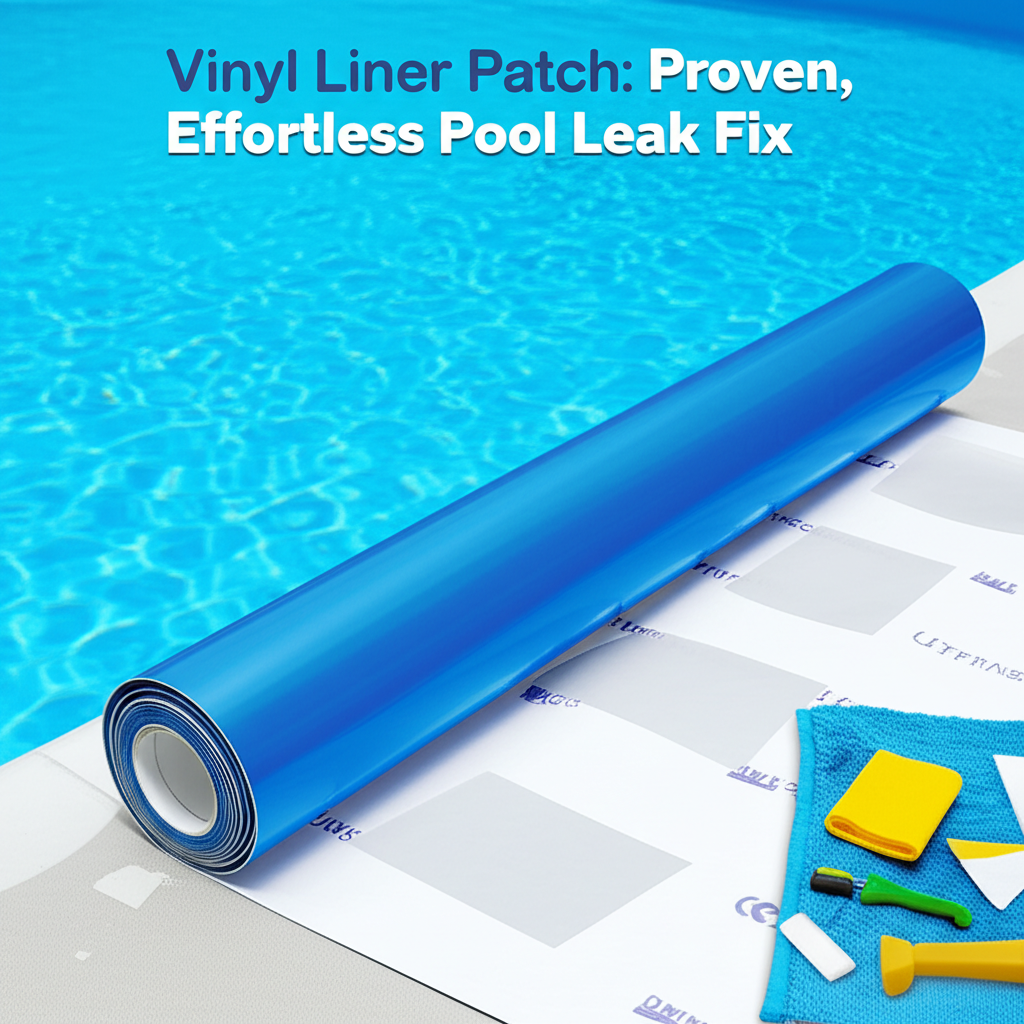
Vinyl Liner Patch solutions offer a remarkably effective and straightforward approach to a common headache for many pool owners: leaks. While the thought of a leak might send shivers down your spine, fearing costly and extensive repairs, the truth is that many minor vinyl liner issues can be resolved quickly and affordably with the right knowledge and tools. This guide delves into why patches are a homeowner’s best friend for maintaining a pristine pool, offering a proven and often effortless fix for those pesky drips and drops.
The Allure of Vinyl Liner Pools and the Inevitability of Leaks
Vinyl liner pools are celebrated for their comfort, aesthetic versatility, and often lower upfront costs compared to concrete or fiberglass alternatives. Their smooth, non-abrasive surface is gentle on feet, and the wide array of patterns can transform any backyard into a luxurious retreat. However, like any material, vinyl liners are susceptible to wear and tear over time. From the gradual degradation caused by UV rays and pool chemicals to accidental punctures from sharp objects, pets, or even toys, leaks are an almost inevitable rite of passage for vinyl liner pool ownership. But understanding that these leaks are often minor and easily repairable is the first step to stress-free maintenance.
Spotting the Signs: Is Your Pool Leaking?
Before you can apply a pool leak repair solution, you need to confirm you have a leak and, ideally, pinpoint its location. Several tell-tale signs suggest your pool might be losing water:
Excessive Water Loss: While evaporation is normal, if your pool is losing more than 1/4 inch of water per day, it’s a red flag. The “Bucket Test” is a simple and effective way to differentiate between evaporation and a leak.
Wet Spots or Erosion Around the Pool: If you notice perpetually soggy areas in your lawn near the pool, or if the ground suddenly feels softer or develops sinkholes, water is likely escaping your liner.
Fluctuating Water Chemistry: A constant need to add more chemicals to maintain proper balance can suggest fresh water is continuously entering to replace lost volume, diluting existing chemicals.
Visible Tears or Cracks: Sometimes, the leak location is obvious. Regularly inspect your liner for any visible damage, especially along seams, around fittings (skimmer, returns, main drain), and corners.
The Dye Test: Once you suspect a leak in a specific area, a small amount of concentrated dye (available at pool stores) can be released near the suspected spot. If the dye is sucked into the liner, you’ve found your culprit.
The Marvel of the Vinyl Liner Patch
A vinyl liner patch is precisely what it sounds like: a piece of vinyl material, often clear or tinted to match common liner patterns, designed to adhere over a hole or tear, sealing it completely. These patches are a cornerstone of effective leak management for several reasons:
Cost-Effectiveness: They are significantly cheaper than draining the pool and hiring professionals for extensive repairs.
Ease of Application: Most patches are designed for DIY application, even underwater, meaning minimal disruption to your swimming season.
Durability and Effectiveness: When applied correctly, a good quality patch creates a strong, lasting seal that can withstand pool chemicals, water pressure, and temperature fluctuations.
Versatility: Patches are available in various sizes and shapes, and custom cutting is always an option, allowing them to address anything from tiny pinholes to larger tears.
Types of Vinyl Liner Patch Kits
When you’re ready for pool leak repair, you’ll find a few main types of patch kits:
1. Pre-Cut Self-Adhesive Patches: These are often clear and come with the adhesive already applied. You simply peel off the backing and press it onto the cleaned liner. Ideal for small, straightforward holes.
2. Vinyl Material with Separate Adhesive: These kits provide a piece of vinyl (sometimes patterned) and a tube of specialized adhesive designed for underwater application. The glue is typically thick and forms a strong bond. This offers more flexibility for larger or irregularly shaped tears.
3. Liquid Patch Kits: For very small pinholes or weeping seams, some kits involve squirting a liquid sealant directly into the water, which is then drawn into the small crack or hole. While seemingly easy, they can be less reliable for defined tears.
For most repairs, the vinyl material with separate adhesive offers the best balance of flexibility and strong, lasting repair. Ensure the adhesive specifies “underwater use” if you plan to fix the leak without draining.
Effortless Pool Leak Repair: A Step-by-Step Guide
Repairing a vinyl liner leak with a patch is a straightforward process, whether you drain the pool or apply the patch underwater. Here’s how:
1. Preparation is Key:
Clean the Area: Thoroughly clean the area around the leak with a brush, sponge, and an appropriate pool cleaner to remove any algae, dirt, or oils. For underwater applications, a scrub brush is usually sufficient. Rinse well.
Cut the Patch: Cut your vinyl patch so it extends at least one to two inches beyond all edges of the hole or tear. Round the corners of the patch to prevent snagging and peeling.
Keep it Dry (if Draining): If you’ve lowered the water level, ensure the area is completely dry before applying adhesive for the strongest bond.
2. Applying the Adhesive (for kits with separate glue):
Underwater Application: Apply a generous, even layer of adhesive to the entire surface of the patch that will be in contact with the liner. Fold the patch over on itself (adhesive-to-adhesive) while you take it underwater to prevent the glue from washing off prematurely.
Dry Application: Apply the adhesive evenly to the entire backside of the patch. You can also apply a thin layer to the liner around the hole for extra adhesion.
3. Positioning and Pressing the Patch:
Underwater: Unfold the patch underwater and carefully position it over the leak. Press firmly from the center outwards to push out any air bubbles and excess adhesive. Hold it in place for several minutes.
Dry: Carefully align the patch over the hole. Press down firmly, again from the center outwards, ensuring full contact and no air bubbles.
4. Curing Time:
Crucial Step: Allow the patch to cure fully. This can range from 24 to 48 hours for underwater applications, and often less for dry applications. Avoid disturbing the patch or stressing the liner during this period. Check your patch kit’s specific instructions.
When to Call the Professionals
While patches are fantastic for minor repairs, some situations warrant professional attention:
Large Tears or Multiple Leaks: Extensive damage or numerous pinholes scattered across the liner might indicate a deteriorating liner that needs full replacement.
Leaks in Difficult Areas: Leaks around skimmers, returns, main drains, or underwater lights can be complex, often requiring specialized tools and expertise to seal correctly without damaging fittings.
Liner Age: If your vinyl liner is nearing the end of its typical lifespan (8-12 years), frequent patching might be a sign it’s time for a new liner.
Structural Concerns: If the leak is causing washouts behind the liner, affecting the pool’s structure or surrounding decking, a professional assessment is crucial.
Proactive Maintenance for a Longer-Lasting Liner
To minimize the need for a Vinyl Liner Patch, incorporating proactive maintenance into your pool routine is essential:
Maintain Balanced Water Chemistry: Proper pH, alkalinity, and sanitizer levels prevent the liner from degrading prematurely.
Clean Regularly: Remove debris that could scratch the liner. Use soft brushes and cleaners specifically designed for vinyl liners.
Careful Use of Pool Accessories: Avoid sharp objects, heavy vacuum heads, or rough toys that could puncture the liner.
* Proper Winterization: Correctly closing your pool for the off-season prevents ice damage and ensures the liner is protected from harsh elements.
Conclusion
A small leak in your vinyl liner pool doesn’t have to spell disaster. Armed with a reliable vinyl liner patch kit and a bit of patience, you can effectively tackle most minor issues, saving time, money, and the frustration of a constantly draining pool. Embrace the simplicity of this proven pool leak repair method, and get back to enjoying your sparkling, leak-free oasis.