New Pool Pump: Ultimate Upgrade, Effortless Pool Care
June 17, 2026Diatomaceous Earth Filter: Superior Filtration Explained
June 21, 2026
- Why an Optimized Pool Equipment Pad Matters
- Key Considerations for Your Equipment Pad Layout
- Designing Your Ultimate Pool Equipment Pad
- Easy Setup Tips for Your Pool Equipment Pad
- Maintaining Your Pool Equipment Pad
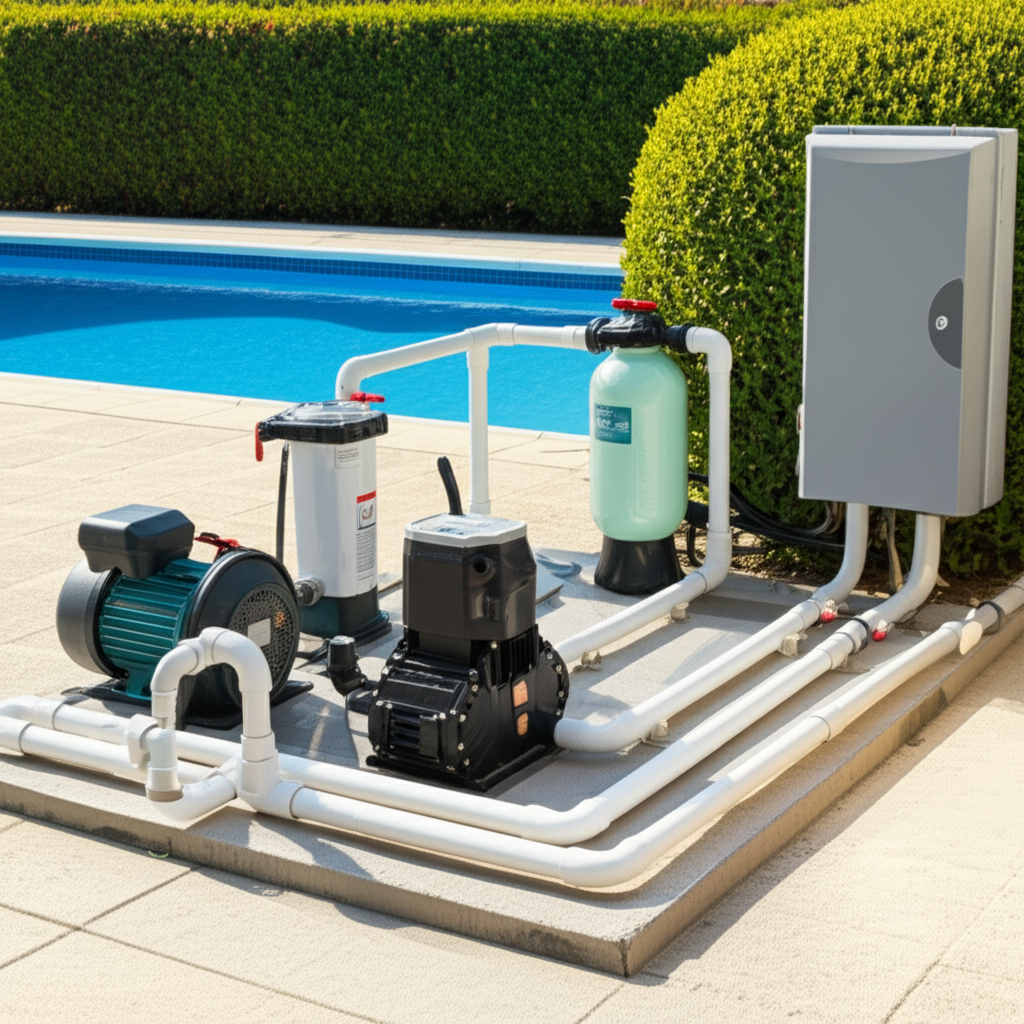
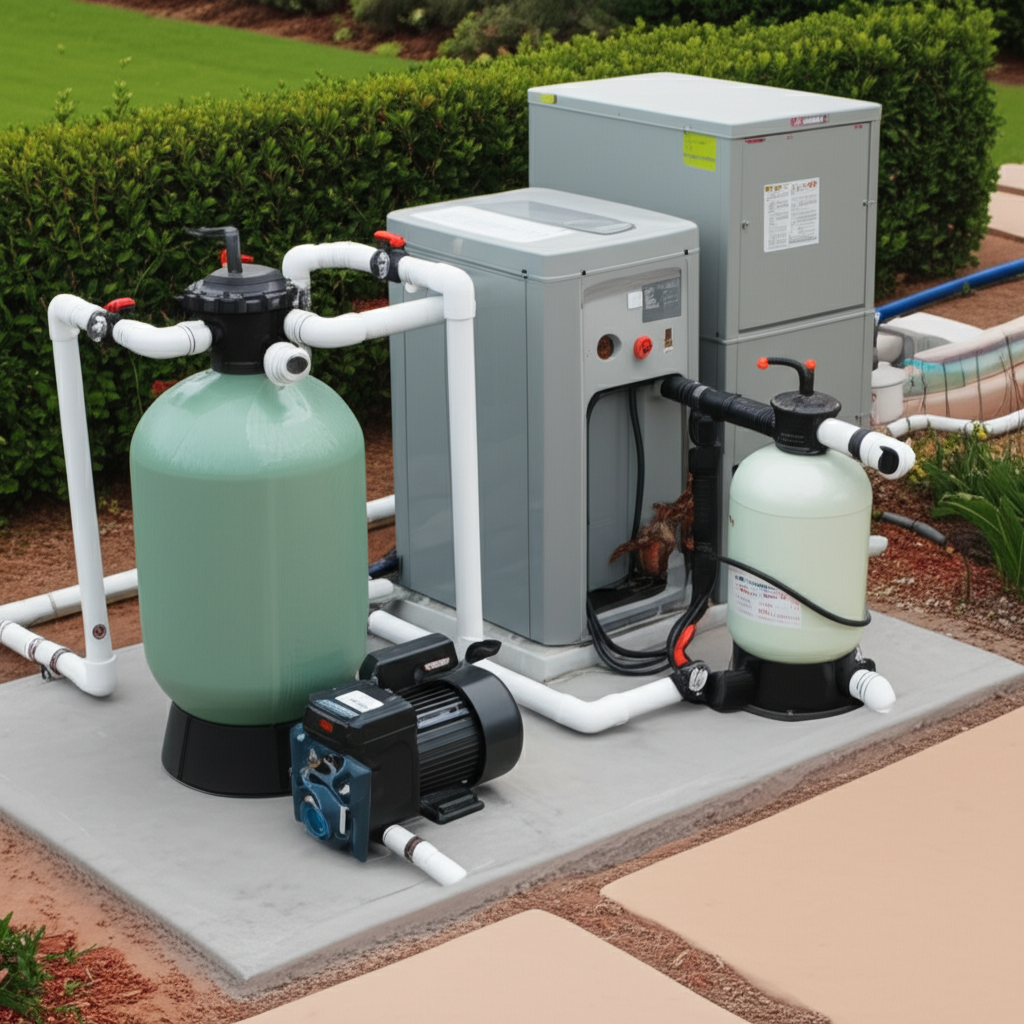
A pool equipment pad is the organized heart of your swimming pool’s operation, housing all the vital components that keep your water sparkling clean and refreshingly comfortable. Far from just a random collection of pipes and pumps, an ultimate pool equipment pad setup is a testament to thoughtful planning, efficient design, and a dedication to both functionality and aesthetics. Setting one up doesn’t have to be a daunting task; with the right approach, it can be a surprisingly easy and rewarding DIY project or a smoothly managed professional installation, ultimately enhancing your entire poolside experience.
Why an Optimized Pool Equipment Pad Matters
The area housing your pool’s operational components might seem like a mere necessity, but its design and setup significantly impact your pool’s efficiency, longevity, and ease of maintenance. A well-designed pad offers numerous advantages:
Protection for Pool Machinery: It shields sensitive electronics and plumbing from direct sun, rain, and other environmental factors, extending the lifespan of your expensive pool machinery.
Enhanced Safety: Proper organization prevents tripping hazards, keeps electrical components secure, and ensures vital plumbing lines are protected.
Easier Maintenance & Troubleshooting: When components are logically laid out with adequate space and clear labeling, routine maintenance, filter cleaning, or troubleshooting eventual issues becomes significantly simpler and quicker.
Improved Aesthetics: A tidy, well-organized pad looks better, reducing visual clutter in your backyard oasis.
Noise Reduction: Strategic placement and insulation can help mitigate operational noise from pumps and heaters, contributing to a more peaceful environment.
Future-Proofing: An adequately sized and planned pad allows for easy integration of future upgrades, such as a heat pump, automation system, or a salt chlorine generator.
Key Considerations for Your Equipment Pad Layout
Before breaking ground or even sketching your design, consider these crucial factors that will dictate the success of your equipment pad layout:
Location, Location, Location:
Proximity to the Pool: Aim for a spot as close to the pool as feasible to minimize the length of plumbing runs. Shorter runs mean less friction loss, improving the efficiency of your pump.
Drainage: Ensure the pad is on higher ground or has excellent drainage away from the equipment. Standing water is detrimental to electrical components and can promote corrosion.
Accessibility: Leave ample space around the pad for future access for maintenance, repairs, or winterization.
Sunlight & Shade: While some direct sunlight is fine, excessive heat can reduce the lifespan of PVC pipes and some electronics. Consider nearby shade or even a small cover.
Noise: Be mindful of neighbors when placing pumps or heaters, which can generate noise.
Adequate Sizing: This is where many DIY setups fall short. Think beyond your current equipment. Envision future additions like a heater, salt generator, automation panel, or chemical feeder. A good rule of thumb is to choose a pad size that allows at least 12-18 inches of clearance around each piece of equipment for easy access.
The Foundation:
Concrete Slab: The most common and durable option. It offers a level, stable, and long-lasting base. Ensure it’s properly reinforced and pitched slightly for drainage.
Pre-fabricated Pads: Made from durable, recycled plastics, these are an easy setup solution for smaller to medium-sized configurations. They are lightweight, resistant to chemicals, and straightforward to install on a prepared, level gravel base.
Gravel/Pavers: While not ideal for directly supporting heavy equipment like pumps and filters without additional sturdy bases, a surrounding gravel bed can help with drainage and aesthetics.
Designing Your Ultimate Pool Equipment Pad
Once you’ve settled on the location and foundation, it’s time to map out the exact placement of your pool machinery. The goal is logical flow and practical access.
1. Logical Flow (Pump First): The pump should be the first piece of equipment in the water’s path coming from the pool (skimmers, main drain). This ensures optimal suction.
2. Filter Next: Immediately after the pump, the water enters the filter – whether sand, cartridge, or DE – for purification.
3. Heater/Heat Pump (If Applicable): If you have a heater, it typically comes after the filter, just before the water returns to the pool.
4. Sanitizer/Chlorinator/Salt System: These systems are usually the last components the water passes through before returning to the pool, ensuring sanitation before re-entry.
5. Auxiliary Components: Automation panels, chemical feeders, or ozone generators can be integrated into the plumbing line or mounted nearby.
Plumbing Best Practices for an Easy Setup:
Minimize Elbows and Bends: Every 90-degree elbow creates friction loss, forcing your pump to work harder. Utilize gentle sweeps where possible.
Install Unions: Place unions on either side of each piece of equipment. This allows for easy removal of individual components for maintenance or replacement without cutting pipes.
Valves are Your Friend: Install shut-off valves before and after key equipment to isolate components for service. Label them clearly.
Proper Pipe Sizing: Ensure your plumbing matches the flow rate requirements of your pump to avoid efficiency loss.
Electrical Safety & Organization: All electrical connections must be done by a qualified electrician and conform to local codes. Use GFCI protection, proper grounding, and conduit for wiring. Keep electrical lines tidy and separate from plumbing where possible.
Easy Setup Tips for Your Pool Equipment Pad
1. Pre-Planning is Critical: Don’t skip the planning phase. Draw a detailed diagram, measure everything twice, and visualize the setup before cutting any pipe or pouring concrete.
2. Utilize Pre-fabricated Pads: For speed and simplicity, especially for smaller pads, these composite pads save time and effort compared to pouring concrete.
3. Modular Equipment: Many modern pool components are designed for easier integration. Look for equipment with standardized connections.
4. Pre-assemble Where Possible: If you’re building a DIY pad, pre-assemble sections of plumbing runs where accessible before final installation.
5. Clear Labeling: Label all valves (“Skimmer,” “Main Drain,” “Return,” “Waste”), electrical breakers, and even pipe directions. This saves immense time during troubleshooting.
6. Don’t Rush Plumbing: Take your time with PVC gluing. Ensure clean cuts, apply primer and glue evenly, and allow adequate curing time before pressure testing.
Maintaining Your Pool Equipment Pad
Once your ultimate pool equipment pad is set up, ongoing maintenance is minimal but important. Keep the area clear of debris, regularly inspect for leaks around fittings, and ensure no vegetation is encroaching on the equipment. During winterization, ensure all components are properly drained and protected according to manufacturer guidelines.
In conclusion, a well-designed and easily set up pool equipment pad is an investment that pays dividends in convenience, efficiency, and the longevity of your pool system. By dedicating time to thoughtful planning, prioritizing organization, and adhering to best practices, you create a foundation that ensures years of trouble-free enjoyment for your swimming pool.