Pump Troubleshooting: Solve Motor Issues Fast
July 14, 2026
Weak Jets: Effortlessly Boost Pool Circulation
July 17, 2026
- Understanding Why Your Pump Might Be Leaking
- Is DIY Seal Replacement Right for You?
- Before You Begin: Safety First & Preparation
- Addressing Your Leaking Pump: The New Seal Installation
- Tips for Success and Preventing Future Leaks
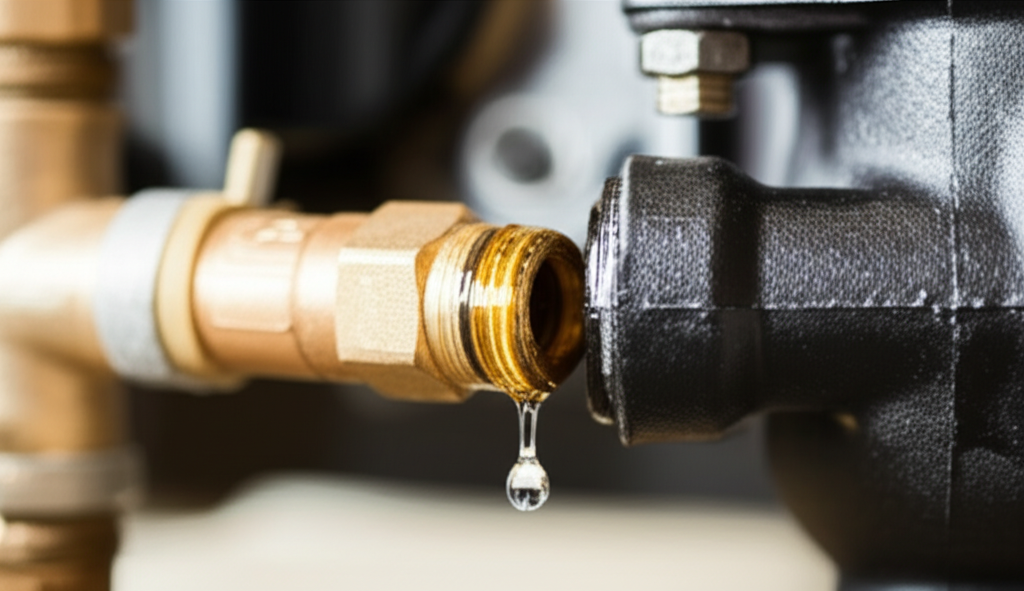
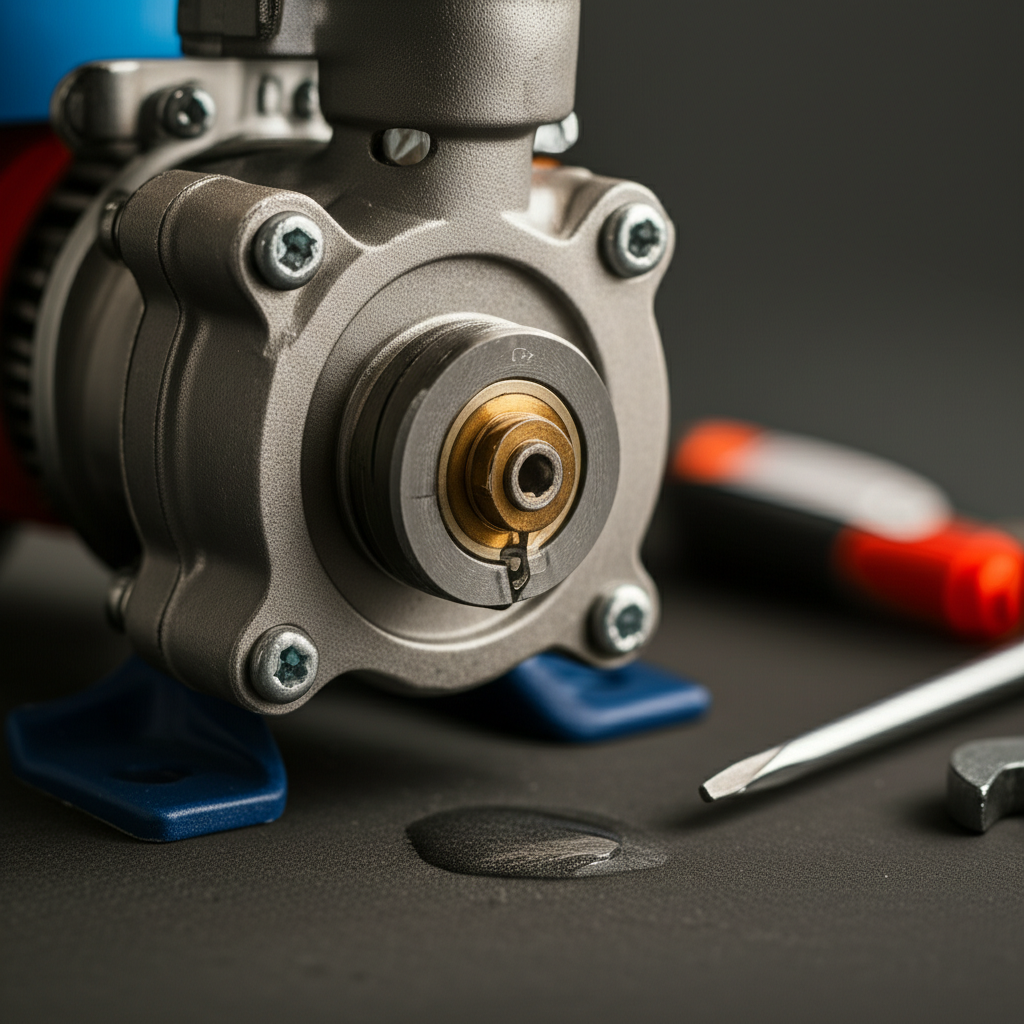
Leaking Pump: a common issue that can quickly turn from a minor nuisance into a significant problem, leading to wasted water, increased energy bills, and potential damage to other components. Fortunately, for many types of pumps, a leaking pump often signifies nothing more than a worn or damaged seal, and its replacement can be a surprisingly quick and easy DIY task. This article will guide you through the process, empowering you to tackle this repair with confidence and restore your pump to optimal performance.
Understanding Why Your Pump Might Be Leaking
Pumps are designed to move fluids efficiently, and seals are critical components that prevent the liquid from escaping where the rotating shaft enters the stationary pump housing. Over time, these seals are subjected to constant friction, heat, and chemical exposure from the pumped fluid. Several factors can lead to a seal failure:
Normal Wear and Tear: Like any moving part, seals simply wear out over extended use.
Abrasive Fluids: Pumping water with sand, grit, or other abrasive particles can accelerate seal wear.
Cavitation: If the pump runs dry or experiences insufficient suction, air bubbles can form and collapse violently, damaging the seal and other pump components.
Overheating: Running the pump with a clogged suction line or extended periods without fluid can cause the seal to overheat and fail.
Improper Installation: A new seal might leak if not installed correctly, or if there’s an alignment issue with the pump shaft.
Chemical Degradation: If the seal material is incompatible with the fluid being pumped, it can break down prematurely.
In most residential and light commercial applications like swimming pool pumps, irrigation pumps, or well pumps, a visible leak at the motor-to-pump interface is almost always indicative of a failed mechanical seal.
Is DIY Seal Replacement Right for You?
For most standard centrifugal pumps found in homes and small businesses, a DIY seal replacement is entirely feasible. You’ll save money on labor costs, gain a better understanding of your equipment, and often complete the repair faster than waiting for a service technician. However, acknowledge your comfort level with tools and mechanical tasks. If you’re dealing with a highly complex industrial pump, a very large system, or are unsure about any steps, it’s always wise to consult a professional. This guide focuses on the common process applicable to many domestic and light commercial applications.
Before You Begin: Safety First & Preparation
Safety is paramount when working with electrical equipment and plumbing.
1. Disconnect Power: ALWAYS turn off the power to the pump at the circuit breaker. This is non-negotiable. Verify it’s off with a voltage tester if you have one.
2. Relieve Pressure: Close any valves leading to and from the pump, and open a drain or tap to relieve any system pressure.
3. Gather Tools and Materials:
New Seal Kit: Ensure you have the correct replacement seal kit for your specific pump model. This is crucial. Check your pump’s make and model number to order the right part.
Screwdrivers (flathead and Phillips)
Wrenches (open-end or adjustable)
Pliers (channel locks or slip-joint)
Clean rags
Bucket or pan for catching water
Wire brush or sandpaper (fine grit) for cleaning
Silicone-based lubricant or a little mild dish soap (never petroleum jelly as it can degrade rubber)
A small block of wood and a mallet (optional, for gentle persuasion)
Safety glasses and gloves
Addressing Your Leaking Pump: The New Seal Installation
Here’s a step-by-step guide to replacing your pump seal:
1. Drain the Pump and Disconnect Plumbing:
Ensure the power is off. Close any inlet and outlet valves. Open drain plugs on the pump housing (volute) to completely drain the water. Disconnect the main plumbing unions or fittings that connect to the pump. You may need to remove some bolts holding the pump to its base.
2. Access the Impeller and Motor Shaft:
The process varies slightly by pump type.
Separating the Wet End: You’ll typically need to remove several bolts that hold the “wet end” (volute/pump housing) to the motor assembly. Carefully pull the wet end away from the motor, possibly needing to gently pry it apart.
Removing the Diffuser: Some pumps have a diffuser (a plastic or metal plate) in front of the impeller. Carefully unbolt or unclip it.
Removing the Impeller: This is often the trickiest part.
Threaded Impeller: For many pumps, you’ll need to hold the motor shaft stationary (often with a flathead screwdriver in a slot at the end of the shaft or by holding the fan at the back of the motor) while unscrewing the impeller counter-clockwise. Be firm but careful not to damage the impeller vanes.
Set Screw/Bolt Impeller: Some impellers are held by a set screw or a bolt in the center. Identify and remove these.
3. Remove the Old Seal Components:
A mechanical seal typically consists of two main parts:
The Stationary Part: Usually a ceramic ring pressed into a rubber boot, seated in the pump housing or seal plate. Use a screwdriver to carefully pry this out. Pry evenly around the circumference to avoid cracking.
The Rotating Part: A carbon-faced spring-loaded assembly that slides onto the motor shaft and typically sits behind the impeller. Carefully slide this off the shaft.
4. Clean the Seal Cavity and Shaft:
Thorough cleaning is essential for the new seal to function correctly.
Use a clean rag to wipe down the immediate area where the stationary seal sits.
Inspect the pump housing for any pitting or corrosion. Gently clean with a wire brush or fine sandpaper if necessary.
Clean the motor shaft where the rotating seal will sit, ensuring it’s free of scale, rust, or debris.
5. Install the New Stationary Seal:
This part is delicate.
Carefully unpack the new seal components. Avoid touching the polished ceramic or carbon faces with your bare hands – skin oils can degrade the seal’s performance over time. Handle them by the rubber or metal parts.
Apply a thin, even coat of silicone-based lubricant or a small amount of mild dish soap to the rubber boot of the new stationary seal.
With the polished ceramic face pointing outwards (towards the impeller), carefully press the stationary seal into its recess in the pump housing. You can use the old seal housing or a piece of wood against the ceramic to press it in evenly. Ensure it’s seated squarely and completely.
6. Install the New Rotating Seal:
Apply a small amount of lubricant or soap to the motor shaft.
Orient the rotating seal correctly – the carbon face should be facing towards where the ceramic stationary seal will be.
Carefully slide the rotating seal onto the motor shaft, ensuring the spring side goes on first. Push it down gently until it’s snug against the motor flange or specific housing. Again, avoid touching the carbon face.
7. Reassemble the Pump:
Carefully reinstall the impeller by screwing or bolting it back onto the shaft. Ensure it’s tightened correctly – often, finger-tight plus a quarter turn is sufficient. Make sure the impeller spins freely and doesn’t rub.
Reinstall the diffuser (if applicable).
Carefully align the wet end (pump housing) with the motor assembly, ensuring the motor shaft slides smoothly into the impeller.
Replace and tighten all the bolts holding the pump housing to the motor flange, tightening them gradually in a crisscross pattern to ensure even pressure.
Reconnect all plumbing unions and tighten securely.
Replace any drain plugs.
8. Test the Pump:
Open the inlet and outlet valves.
Prime the pump according to the manufacturer’s instructions. This usually involves filling the pump housing with water until it overflows from a prime port or standpipe.
Restore power at the circuit breaker.
Turn on the pump and carefully observe it for any leaks. Let it run for a few minutes. If you see no leaks, congratulations!
Tips for Success and Preventing Future Leaks
Quality Matters: Always use OEM (Original Equipment Manufacturer) or high-quality aftermarket seals. Cheap seals may fail prematurely.
Handle With Care: The polished faces of the seal components are extremely delicate. Any scratch or fingerprint can lead to a leak.
Lubricate Wisely: Only use silicone-based lubricants or mild soap on the rubber portions of the seal for easier installation. Never use petroleum-based products.
Proper Priming: Always ensure your pump is properly primed before starting it. Running a pump dry can quickly destroy a new seal.
* Regular Maintenance: Keep your pump’s baskets clean and check for proper water flow to prevent overheating and cavitation.
By following these detailed steps, you can confidently address a leaking pump and perform a successful seal replacement. Not only will you save money, but you’ll also ensure your pump operates efficiently, prolonging its lifespan and giving you peace of mind.